Creating and Testing an ANTLR parser with Intellij IDEA or Android Studio

In this example we will parse a simple text with ANTLR to see how to set up and use ANTLR with Intellij IDEA or Android Studio. Afterward you can extend the example or write your own files to parse more complex input. First you need to install the ANTLR plugin. Open the preferences and select … Continue reading “Creating and Testing an ANTLR parser with Intellij IDEA or Android Studio”

In this example we will parse a simple text with ANTLR to see how to set up and use ANTLR with Intellij IDEA or Android Studio. Afterward you can extend the example or write your own files to parse more complex input.

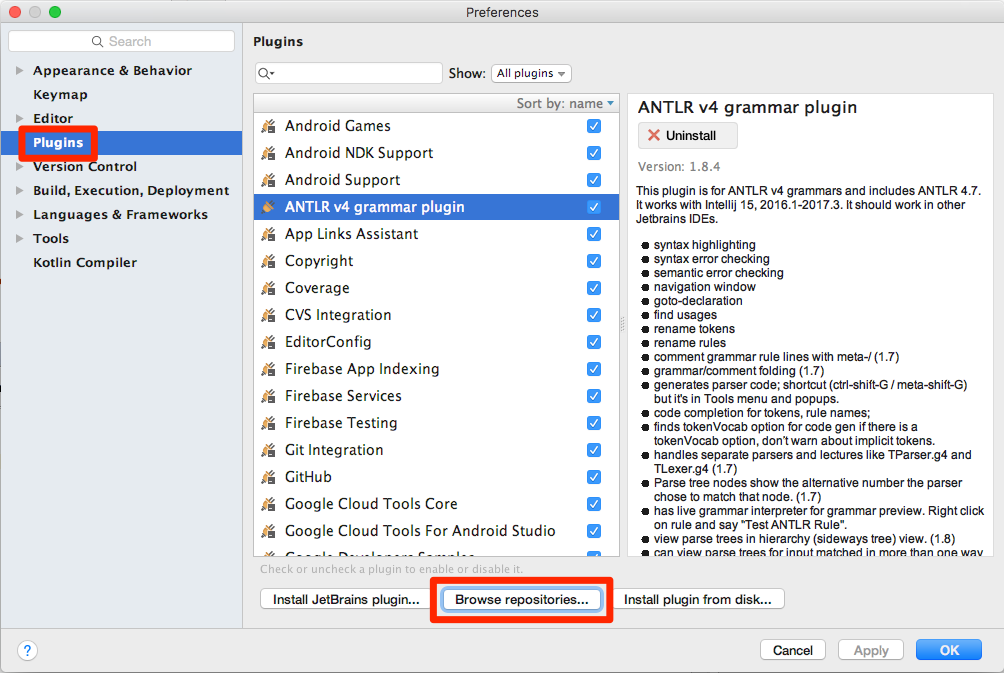
First you need to install the ANTLR plugin. Open the preferences and select “Plugins > Browse repositories”:

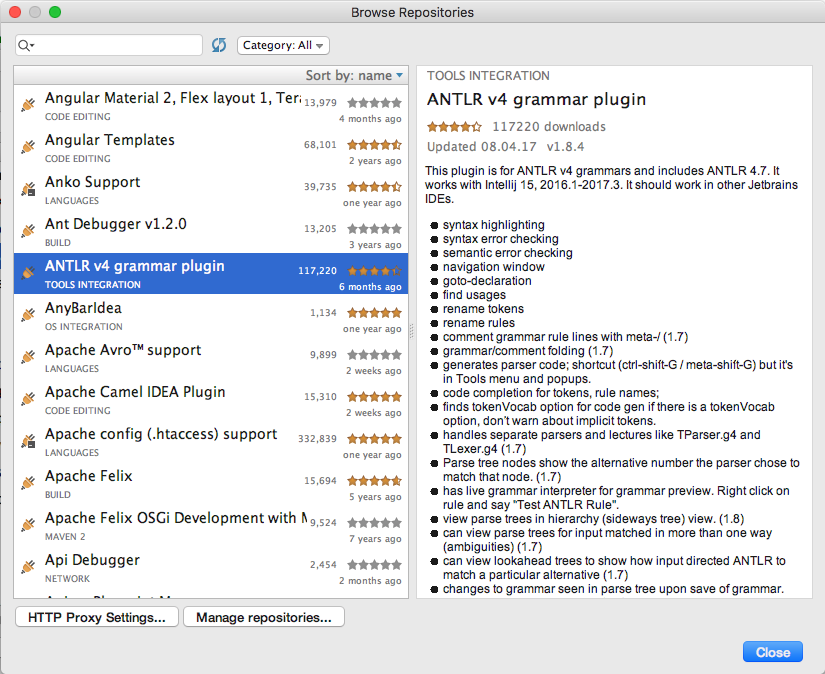
Then select the ANTLR plugin:

Now create an empty file and name it “Test.g4”. Write the following lines into the file:

grammar Test;
main: 'Hello ' name '!';
name: ANY+;
ANY: .;

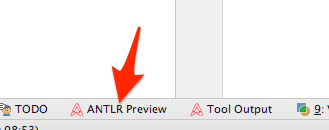
Then click on ANTLR Preview:

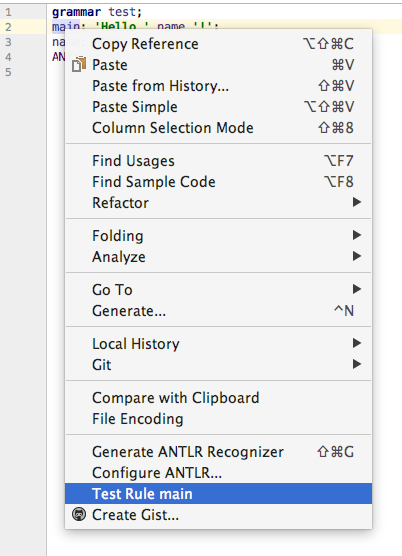
A new pane should appear that should display “text.g4 start rule: <select from navigator or grammar>”. To fix this, right click on “main” in the “Test.g4” file and select “Test Rule main”:

Now type “Hello John!” into the text area of the ANTLR Preview pane. On the right side you should see the parsed result:

As you can see, it has correctly parsed the name into a separate tag. If you enter an invalid text it will show an error.

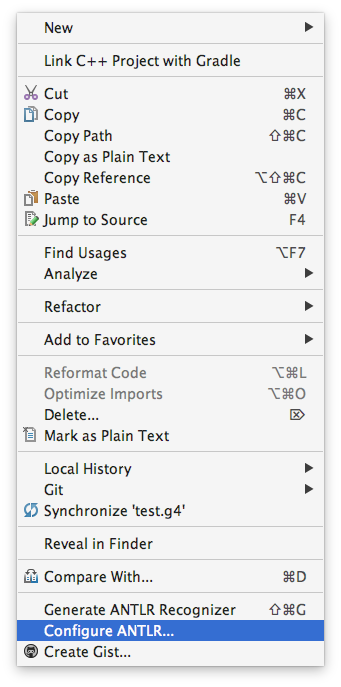
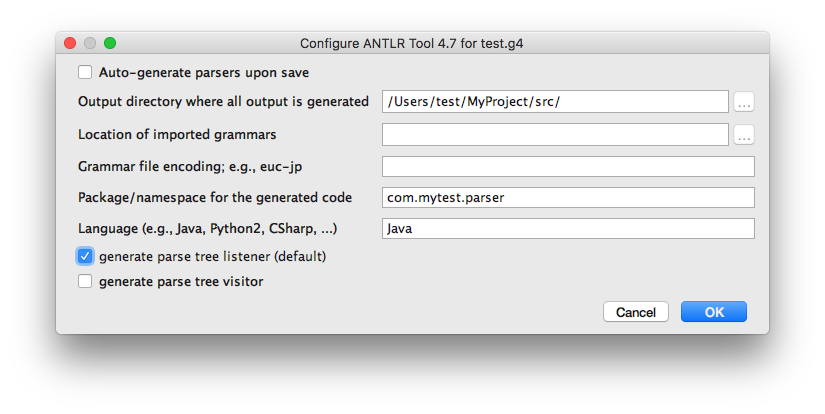
Now let’s see how we can access the data from Java/Kotlin. Right click your “Test.g4” file and select “Configure ANTLR”.

Enter the root path where your project’s sources are saved and the package name that the parser should use. And specify “Java” as language:

Then click on “Generate ANTLR Recognizer”:

Now you could write the following code in Kotlin

val lexer = TestLexer(CharStreams.fromString("Hallo John!"))
val parser = TestParser(CommonTokenStream(lexer))

val name = parser.main().name().text

or in Java

TestLexer lexer = new TestLexer(CharStreams.fromString("Hallo John!"));
TestParser parser = new TestParser(new CommonTokenStream(lexer));

String name = parser.main().name().getText();

and the variable “name” would contain the parsed name “John”.

To use this code you also need the ANTLR Runtime in your project. If you are using Gradle e.g. with Android Studio you have to add this line to the “dependencies” section of your app’s build.gradle:

implementation 'org.antlr:antlr4-runtime:4.7'

If you are using Maven in your project you have to add this to your “dependencies” section:


    org.antlr
    antlr4-runtime
    4.7

Too see which rules you can use in the g4 file you can use the documentation here:

Lexer Rules
Parser rules

Automatic uploads of Android apk files to Google Play

To save time you can automate the process of uploading new apk files to Google Play using tools like gradle-play-publisher or fastlane. The process is simple. First you have to create a Google Service account and download the created p12 file. In the Google Play console you have to configure the access for this account. … Continue reading “Automatic uploads of Android apk files to Google Play”

To save time you can automate the process of uploading new apk files to Google Play using tools like gradle-play-publisher or fastlane.

The process is simple. First you have to create a Google Service account and download the created p12 file. In the Google Play console you have to configure the access for this account. And you have to add a few sections to your project’s gradle files. You can find instructions for it on the gradle-play-publisher website.

Then you can download all your existing descriptions with this command:

./gradlew bootstrapReleasePlayResources

And to just upload a new apk file for a release or a alpha/beta version use this command:

./gradlew clean publishApkRelease

or this if you are using App Bundles

./gradlew clean publishBundle

It also uploads the contents of the “whatsnew” files as changelog to the Google Play store.

Search apps for old iOS versions in the Apple AppStore

Looking for a way to find iOS apps for an older iOS device that does not support the latest iOS version? Here you can search the AppStore and view the release date and the current minimum OS version. Using the release date you can determine if there might be an older version of the app … Continue reading “Search apps for old iOS versions in the Apple AppStore”

Looking for a way to find iOS apps for an older iOS device that does not support the latest iOS version? Here you can search the AppStore and view the release date and the current minimum OS version. Using the release date you can determine if there might be an older version of the app that supports an older iOS version than the current minimum OS version. When installing the app on and old device the AppStore will usually ask you if you would like to install an old version that is compatible to your device.


Version Rating Release date Price Title
{{row.minimumOsVersion}} {{row.averageUserRating}} {{row.releaseDate}} {{row.formattedPrice}} {{row.trackName}}

URLEncode Online

Here is a simple form that can URLEncode a given text. This can be useful when programming or writing HTML pages. Text: Convert UrlEncode:

Here is a simple form that can URLEncode a given text. This can be useful when programming or writing HTML pages.

Text:


UrlEncode:

Building simple RapidWeaver Stack Elements

I am using RapidWeaver for a few websites. The “Stacks” plugin is really useful and makes RapidWeaver very flexible. You can add new “Stack Elements” to your library in RapidWeaver to get new ways to format or style your content. Most “Stack Elements” have to be bought. Some are really good and worth the money … Continue reading “Building simple RapidWeaver Stack Elements”

I am using RapidWeaver for a few websites. The “Stacks” plugin is really useful and makes RapidWeaver very flexible. You can add new “Stack Elements” to your library in RapidWeaver to get new ways to format or style your content. Most “Stack Elements” have to be bought. Some are really good and worth the money but if you only want something really simple you can easily do it yourself for free. Just follow the steps below:

First you can download a simple example project that contains a nearly empty Stack Element that contains only text:

SimpleExample.stack

Just unzip it and copy it into your Stacks directory ~/Library/Application Support/RapidWeaver/Stacks to make it appear in RapidWeaver (after the next restart):

Screen Shot 2015-12-07 at 09.41.48

When you insert it into a page you can enter some text:

Screen Shot 2015-12-07 at 09.43.25

This text will then simply appear on the website. Until this point it certainly isn’t very useful yet. But now you can start customizing it to your needs:

Open ~/Library/Application Support/RapidWeaver/Stacks, right click on “SimpleExample.stack” and choose “Show Package Contents”. You should find three files:

  • Info.plist: Here you can change the version number and add your own ID.
  • styles.css: Here you can enter any CSS styles you need.
  • template.html: This is the HTML file that will be inserted into the page. It can contain HTML code and certain variables that Stacks will replace with content. In this example it contains only a div with the keyword “%text%”, which means that your page contains text that should be inserted here.

Now try to modify the template.html file. Add a second div section like this:

div id="SimpleExample%id%">
%text%
%text%

Then click on “Developer > Reload” in RapidWeaver:

StacksDeveloperButton

Afterward your Stacks Element should have two text fields:

Screen Shot 2015-12-07 at 09.54.47

To embed other Stacks Elements just write “%slice%” instead of “%text%” in your template.html file:

Screen Shot 2015-12-07 at 09.55.45

This way you can easily add your own custom Stack Elements, style them with CSS and use them in your projects.

You can find a reference explaining all Stacks variables and the folder structure on the Stacks API page.